|
Updated 10/12/2025 This page has gotten bloated. Read it later, but if you want to build the preferred folded Coroplast box, jump straight to this page: Folded Box Plans and Instructions In general if you have a good UNCUT 8'x4' coroplast sheet, the folded box method is probably the best. If you have a number of already cut smaller pieces, you should employ one of the alternatives.
These boxes should be called buzzard boxes since the vast majority of the time Harris's and Red-tails are carried in them. And they are buzzards.....
In 2004 I built a hawk box for my kestrel based on the plans from the original Coulson box shown here. Original Hawk Box It was made of wood. Then, using plans from this same web site, Randy Kocurek and I built two more boxes for our Red-tails. They weighed about 18 pounds each. They were OK, but very heavy. I used for one season, but it aggravated my already injured back. Because of the weight I usually took the bird to the field hooded on a bow perch, rather than in the box.
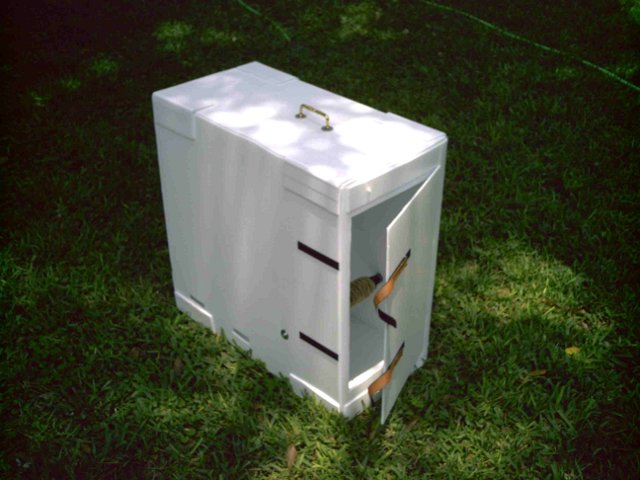
In March of 2005, I saw Matt Mullenix's Coroplast® box, one that he used to transport his Harris' hawk, and didn't realize how handy it was. I now recommend coroplast boxes for everybody. There are a number of different ways to go about it. One of the best methods is a completely folded box, the design put together by Charlie Kaiser. This box weighs about 4 lbs, or less than 25% of the wooden box! I claim nothing original here. I had a brief correspondence with Ron Kumetz, who came up with the one piece fold feature of this box. Bravo, Ron. The folded box design is very clever and robust, but there are at least two viable alternatives.
Alternatives are:
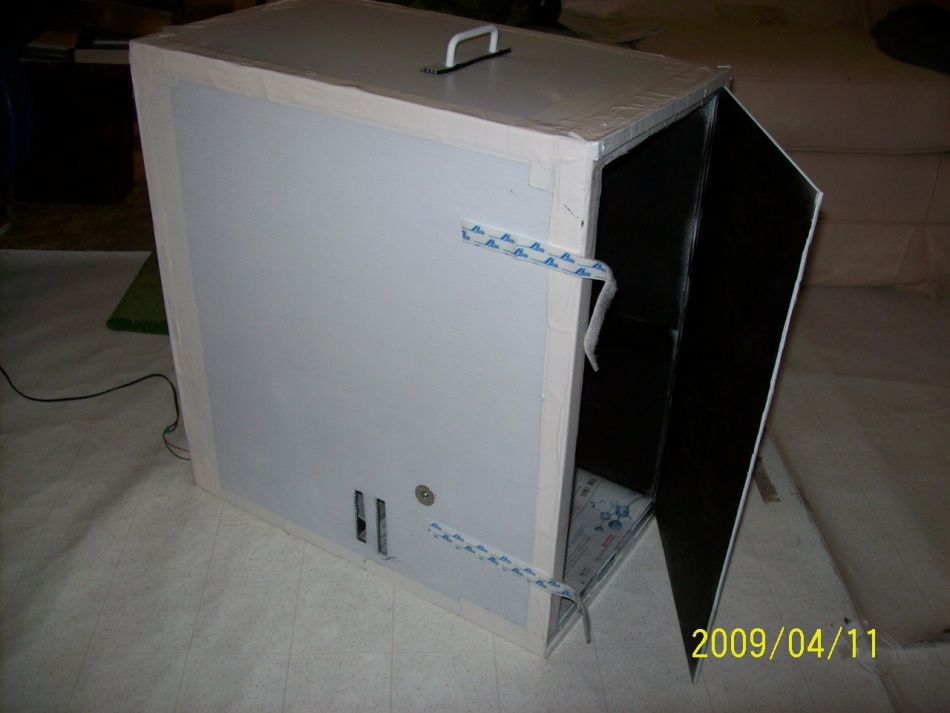
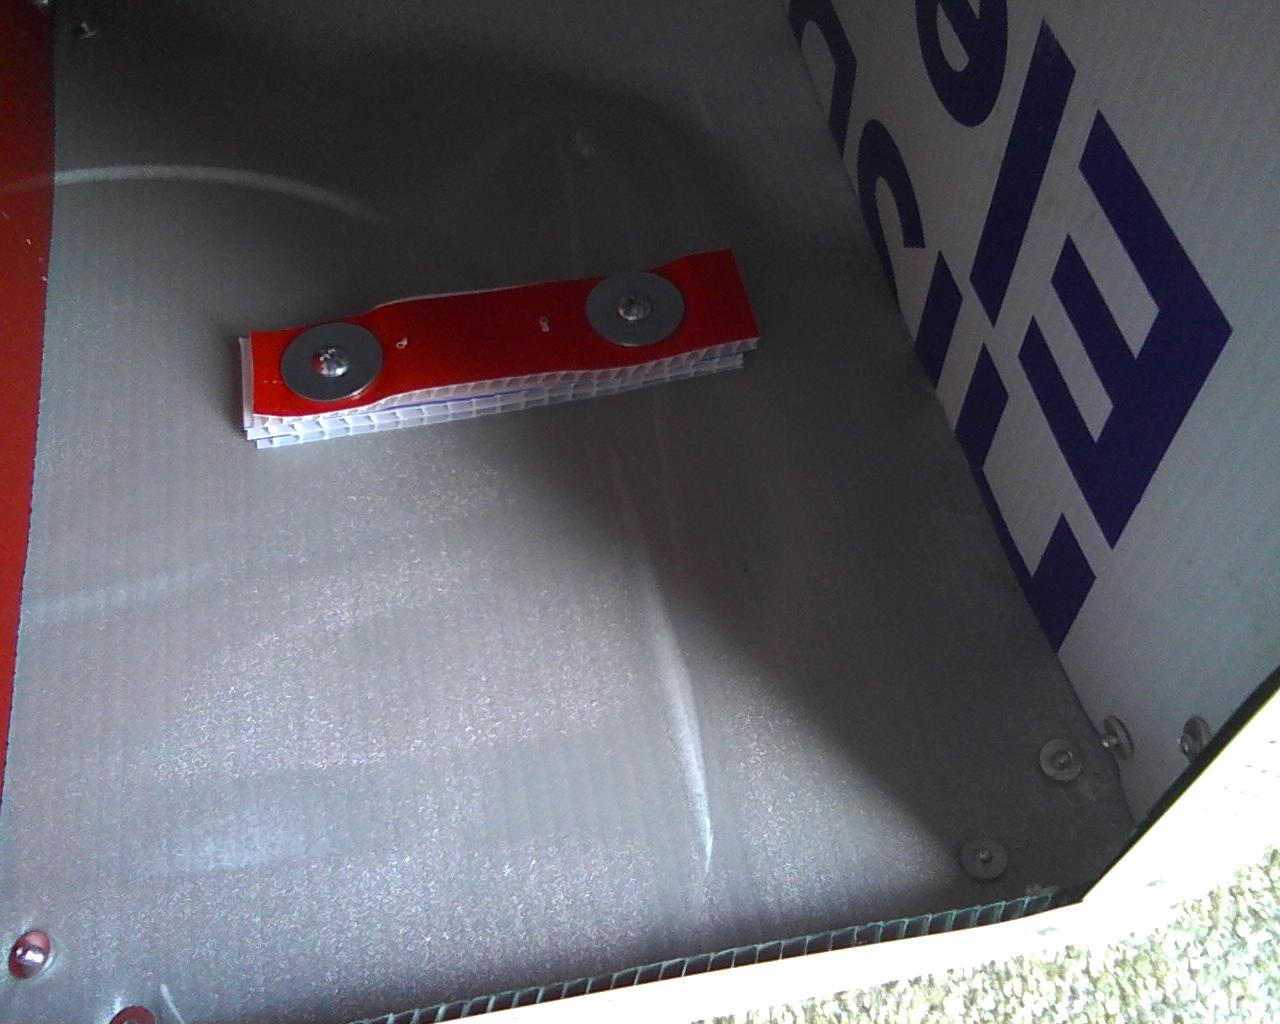
An all-taped box using the following pattern. Click this link: Plans This makes a lighter box, but less robust. The large box dimensions are the same as the all-folded box, and is suitable for birds up to the size of a large female Red-tailed or Ferruginous hawk. The middle size is appropriate for a bird up to the size of a male Red-tail, or female Harris'. The small size will fit a male Harris. The only advantage to making smaller boxes is space considerations. The large box is fine for any smaller hawk. For my male Red-tail, in April of 2009 built the middle size, using white duct tape, white coroplast, a shovel handle for a perch, and a drawer handle. Five years later I pulled the box apart and converted it to a pop-rivet and sheet rock corner box. See below. Use strips of Velcro for closing. Picture of taped box, below left. The door is a third panel placed over the frame, which is the front of the box. The front is cut out, leaving an inch of material all around and the frame is taped over it. For the perch, use a screw and fender washers (small holes, large diameter) to relieve the stress on the single thickness coroplast. Perch position as follows: Small, 6" in, 6" up. Medium, 6.5" in, 6.5" up, and large, 7" in, 7" up. These are referenced from lower front corner, and you can see the fender washer where perch is attached. An important point is this: when you position the sides of the box prior to taping, be sure that they are placed outside the bottom and top panels. Understand this point before you begin. You want the end panels to cover the sides, bottom and top. If not, your end panels will not fit properly. Also the more accurate your cutting and dimensions are to the plans, the better your box will be. If the hawk will not tolerate the light coming through the white translucent coroplast, paint the outside black, then white again with a separate coat. Unless you are willing to wait weeks for the smell to leave, do not paint the inside of the box. I am not sure that hawks do well with toluene. Cut plenty of 1/2 inch slots for air on the side, and on the back, about 3/4 of the way up, cut a 1/2" X 3" slot. Cut more slots than are shown in pictures, maybe twice the number. That will aid natural convection. Another feature that I like is putting a 12V CPU fan over the slot in back. Use white mounting tape at corners of fan. Run it with a power supply, but use a 6V to 9V supply, not 12V. If you use a 12V power supply the fan will be very loud, possibly causing hearing damage to the hawk
|
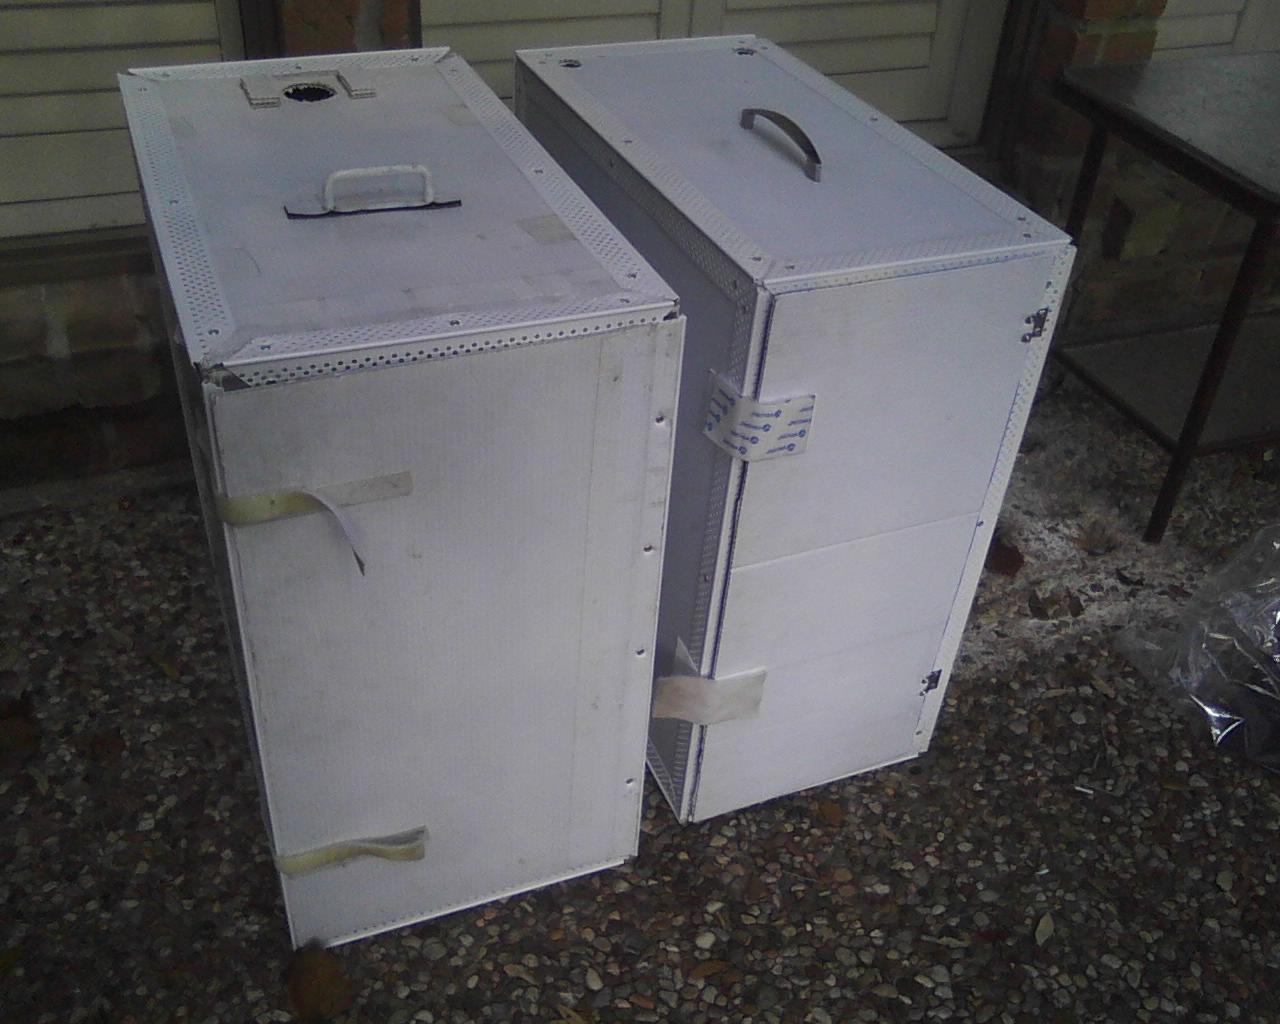 
Taped box and the same box five years later converted to pop rivet (at left) - still used for my male Red-tail
|
|

Folded box with view of fan - same picture is repeated below
|
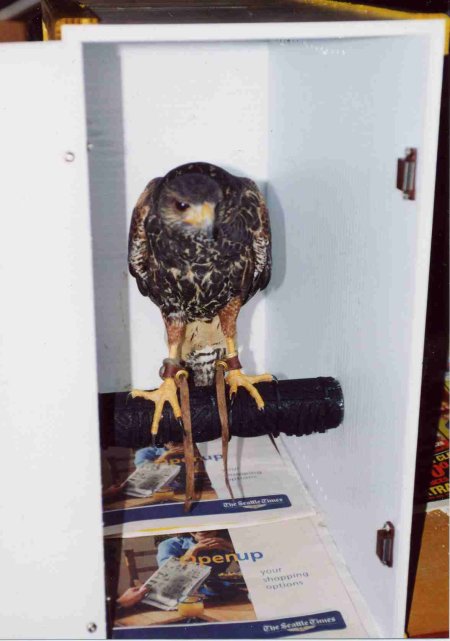
From Toby Bradshaw's web site Toby Bradshaw Hawk Box - a juvenile male Harris's in a heavy wall coroplast box.
Folded Box - See Link Above
Install a carry handle on top placed with center about an inch or two behind the perch for balance when the hawk's inside. I use a drawer handle that is comfortable
for my hand with three stacked rectangles of coroplast for a backing plate with fender washers. Or you can use rope handles.
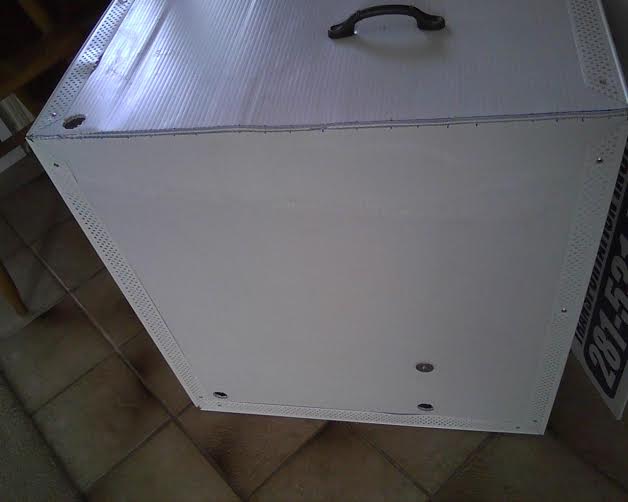
Rectangles and fender washers for backing up handle. Box turned upside down in picture.
Toby Bradshaw puts a bungee cord all the way around his box to keep the door secured, in addition to his door closers.
Note: This should be common sense, but be very careful about leaving a box in the sun, or anyplace where CO fumes can collect. I have read that Harris's hawks are particularly vulnerable. Also, the CPU fan keeps air fresh and should help remove body heat, but is in no way a real cooling system. Keep hawk and box in cool, shaded environment at all times.
Below: Possibly my first folded coroplast box. Dimensions were 2'x2'x1'. Front view displaying velcro latches, perch, handle, and at corners, bumpers made of coroplast.
Back view of box showing 12V CPU fan installed for ventilation and removal of body heat. I now place the CPU fan on top at the back, over a 1.75" hole. Run the fan with a 4V to 7V power supply, to keep it quieter.
Folded box: Folded Box Plans and Instructions
Folded Coroplast box: Folded Box Plans and Instructions
Box with Pop-Rivets and Sheet Rock Corners:
The box shown below happens to be for a small hawk. The rivets take a fair amount of time, with about 60 required, but makes a really beautiful box. If you want to use this approach, and need some pointers, email me. I have made riveted large boxes as well. Note: A small Coroplast box for a Kestrel or Merlin must be weighted, with maybe two pounds at the bottom of box. Perhaps a series of fishing weights taped in place inside. Otherwise the resulting box would may so light that if you set it by your car, the wind could blow it away with your hawk in it. If not weighted, I would stick to the Coulson's original wood plans. The box is heavy enough to be solid and not blow away, but easily carried to the field. A wooden box should last forever, and is less susceptible to impact damage. Finally wood is opaque. My two Kestrels would not tolerate the tiniest amount of light. Even wood, with the seams sealed, the box placed in a dark closet with a blanket over it (but ventilated) was too much light for any extended time. When I took a bird hunting I would throw a blanket over the box, which would help for the few minutes drive.

Here is an enhancement for any box that you make. The hawks will slice in the box and mutes will run down into the lower corner running across the box. It gets very difficult to clean. One solution is to cut a rectangle with a short flap at the bottom, that fits into the back wall of the box. Make it snug, but not buckling. When you need to clean it, pull it out. Push back in when cleaning is complete.
A final point: If your hawk turns around in the box and roosts like that, it may get a little messy. The reason is probably irritation at having the door so close to her beak. My current Harris's Hawk does this in her field traveling box, which is more compact. At night I keep her in a bigger box that has more than 8" perch distance from the door. She no longer turns around. You must have adequate distance to slice behind the perch to effect this change.
Send an email if you have questions.
chuck.redding@gmail.com
|
|
